TV BLOG

Using a Gamepad to Cull Photos in lightroom

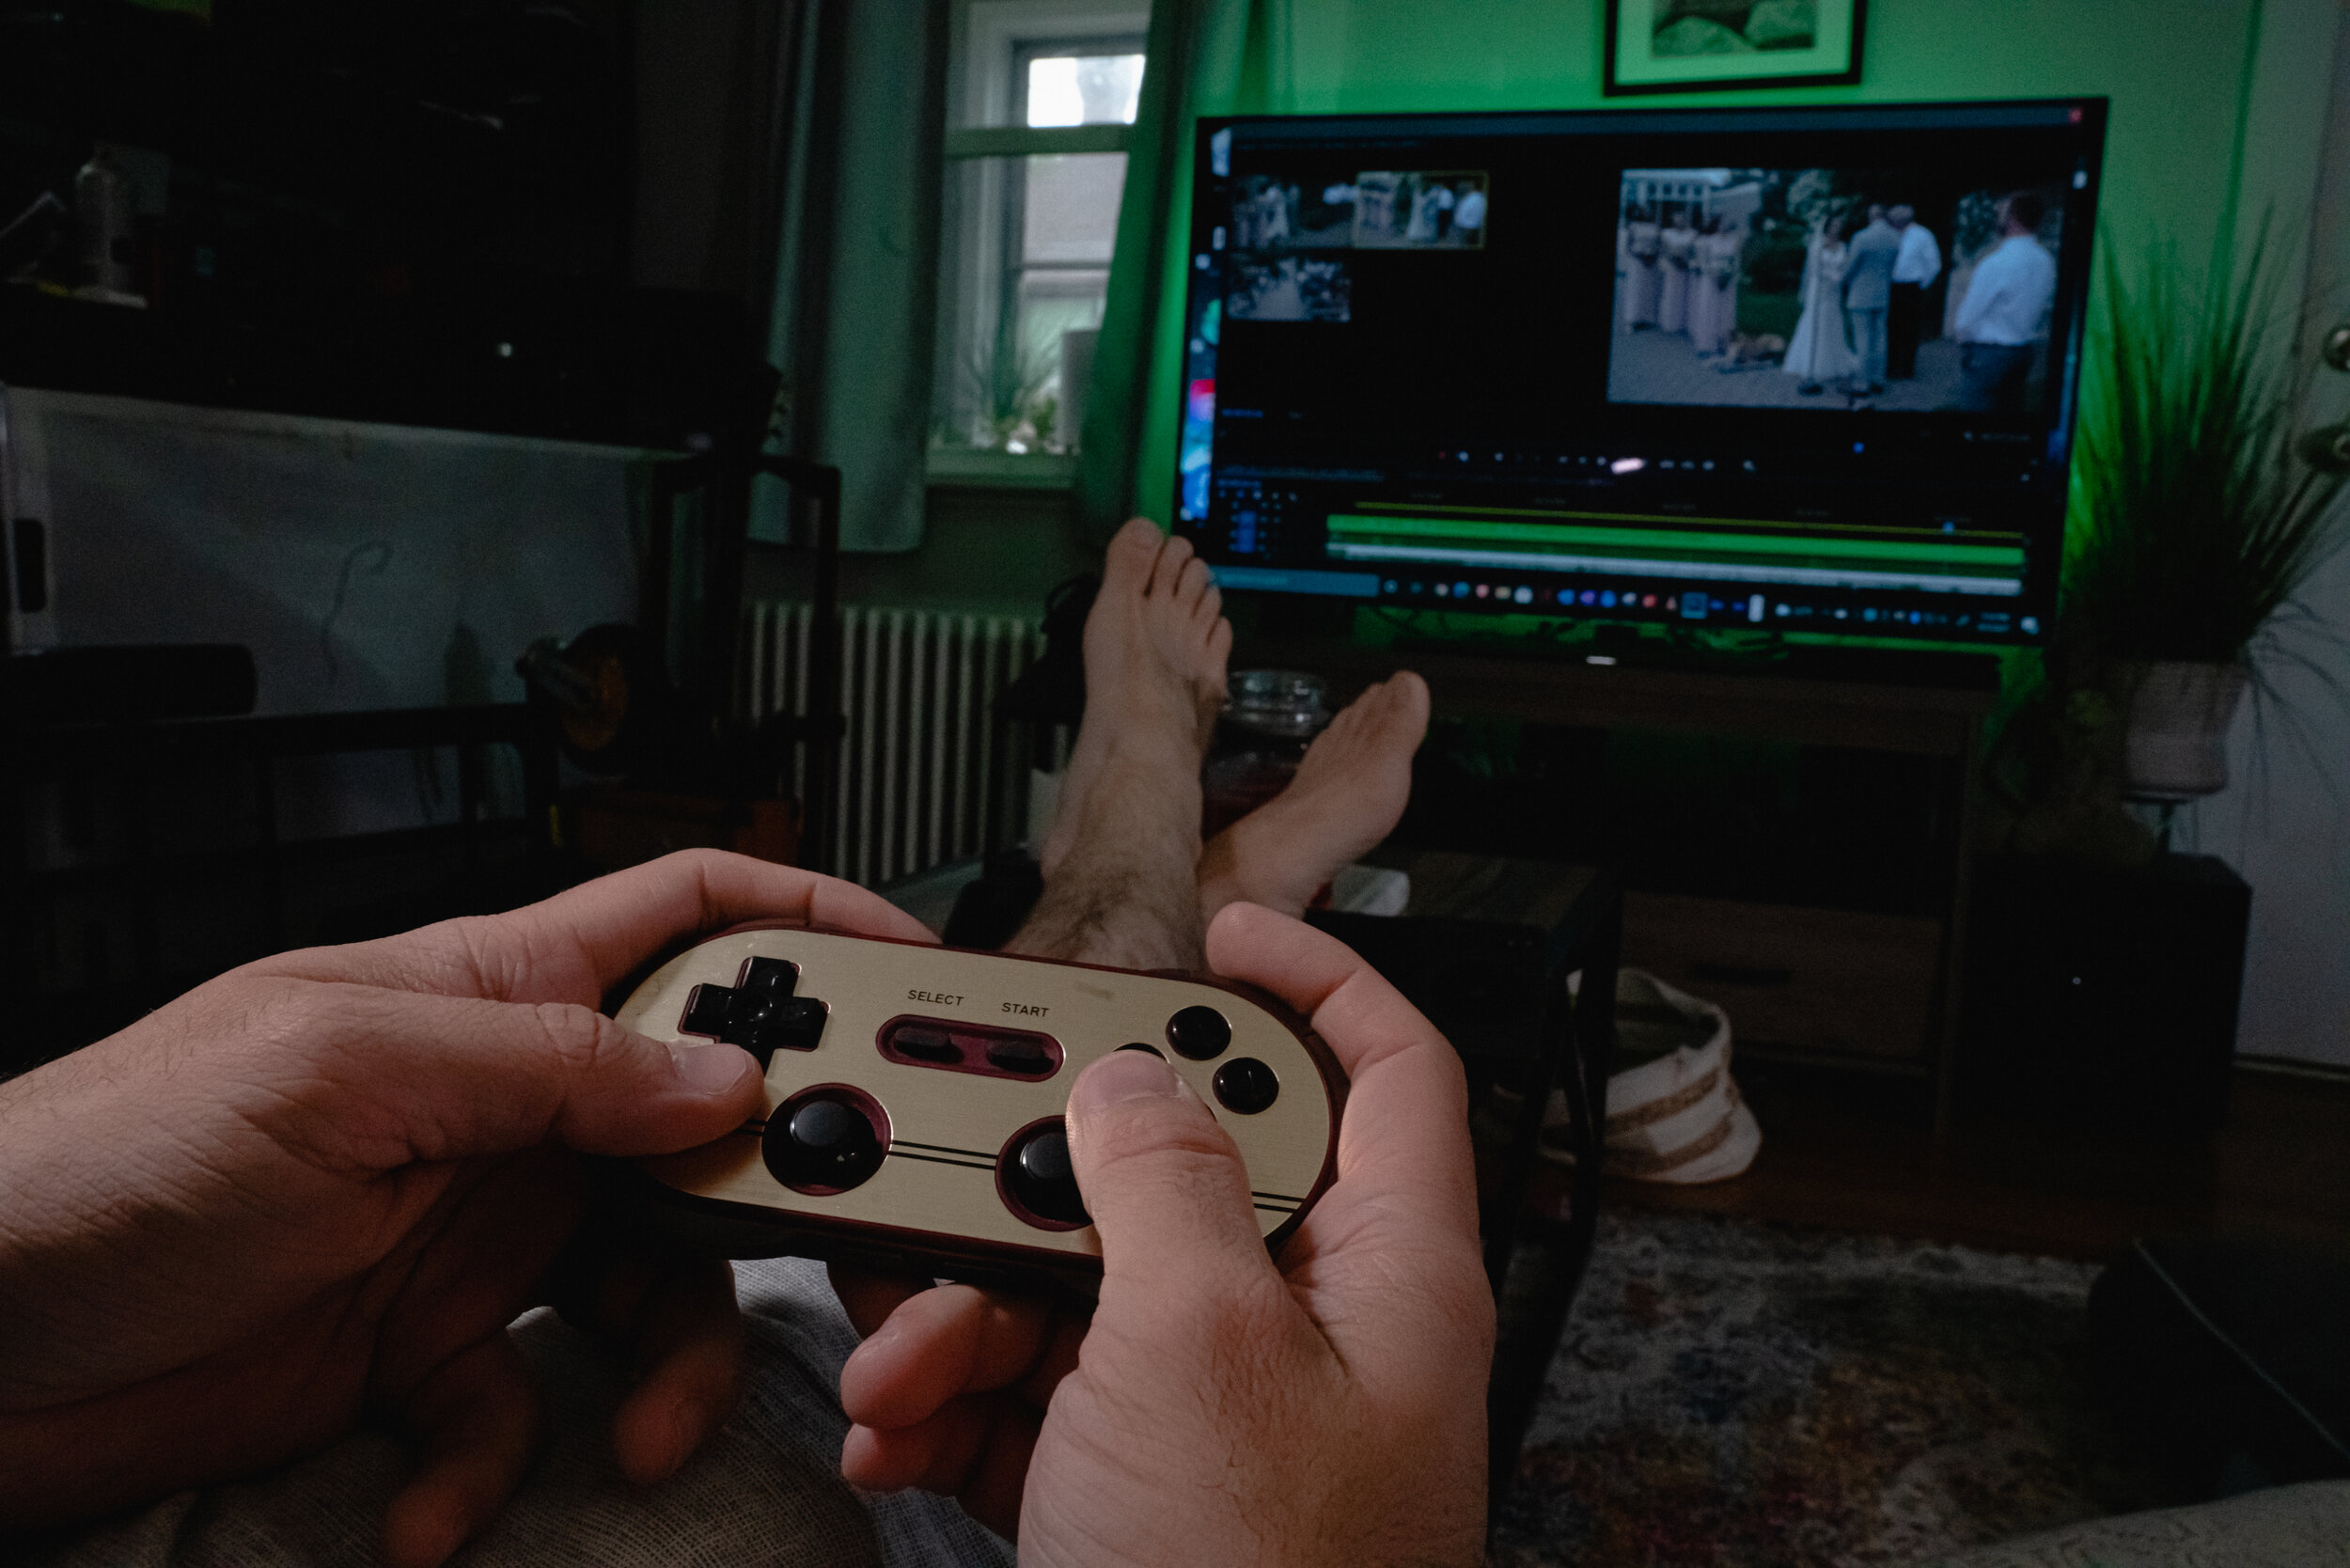
If you are like me and absolutely loath the culling process. this might be something that appeals to you. I use a combination of this and a program called Aftershoot which uses AI to cull your photos for you. This is often my first step and then I go through and check for only my absolute favorites and neccisary photos. 

Timelinevisuals_Blog_Culling_With_a_Gamepad (8 of 17).jpg

If you are like me and absolutely loath the culling process. this might be something that appeals to you. I use a combination of this and a program called Aftershoot which uses AI to cull your photos for you. This is often my first step and then I go through and check for only my absolute favorites and neccisary photos. You can get 10% off aftershoot with this code.

With this guide youll be able to kick your feet up and relax by grabbing your favorite console controller and programing it to use keyboard shortcuts. This is a universal keybinding process and can be use it any program such as premier pro for multicam editing, davicni resolve, Photomechanic, capture one Aftershoot or honestly any program with a large amount of shortcuts, Forr this we will be explaining the shortcuts for lightroom.

If you are on a windows PC you are going to want to purchase Controller Companion it is $2.99 and well worth it.. You can purchase it using the steam store, this should be familiar to any PC gamers reading this. You can also purchase it directly from them here.

The idea is programing you gamepad to utalize shortcuts so you dont have to touch your mose or keyboard a full list of lightroom shortcuts can be found here.

So first thing you need to do after installing is open it. For whatever reason it opens directly to to the taskbar icons. you need to click the icon and open settings

Next navigate to profiles. I would reccomend creating a program binding if you plan on using more then one program.

Below is my lightroom Profile

timelinevisuals_blog_importing profile Controler companion_4_2.gif
Timelinevisuals_Blog_Culling_With_a_Gamepad (1 of 17).jpg

the best part is you can use any controler you want. Some may even opt for a wireless keyboard like the Corsair K83


This page contains Amazon affiliate links. If you choose to purchase one of these products, we will be compensated and at no cost to you. This helps us to continue writing quality content for readers like you. Thank you for reading!

Read More
Education, Photography, Video, Filmmaking, Funny Daniel Graham Education, Photography, Video, Filmmaking, Funny Daniel Graham

The Legendary Three Elements of Exposure

The Legendary Three Elements Of Exposure and how they shape our work

The Legendary Three Elements of Exposure

Legend has it that the first camera was forged in the ancient volcanic caves of mount Fuji . The three tribes Iso, shutti and iris were living in peace and joined forces to control over exposure and maximized dynamic range. But the volcano gods felt this was too great a power for only a few elite photographer tribes and Mount fuji erupted and consumer cameras flooded the market lowering the premium rates and putting cameras in the hands of Uncle's and nephews accross the world.

Now we study these elements to due away with automatic exposure and better the quality of our work

Lava-streaming-from-volcano-983490.jpg

Jokes aside.

The Three elements of exposure or “The Exposure Triangle” consists of Shutter speed , Aperture and ISO.

Shutter speed

There is a mechanical shutter in most cameras that opens and closes to alow light to a hit the sensor for dialed in amount of time. It opens up allowing light and then closes stopping the light. This can determine the amount of motion blur in an image. Before you go jacking up your shutter speed to 1/8000 I want to remind you that you wont always need a fast shutter and sometimes a slow shutter can be used to tell your story creativly or create really cool effects like Shutter Drag. You can also use a slow shutter to capture motion in a single image called a long exposure. you can also create an illusion of frozen time.

Photographer: Danny Graham

Photographer: Danny Graham

Aperture

Apeture which we cover here. Is the size opening of the mechanical blades within a lens that allow how much light passes through it. This is partly responsible for your depth of field.

Photographer: Danny Graham

Photographer: Danny Graham

ISO

Iso (International Standards Organization) or what used to be ASA (American Standards Association) is a tricky one. Its the sensitivity of your film or sensor. I reccomend you learn the limitations of your cameras ISO becauase this can greatly increase the amount of digital noise on your camera and using film you’ll produce a much grainier image.

conclusion

While these are not as mythical and mysterious as you may have first thought they take time to master and learning them will greatly improve the quality of your work

Read More
Filmmaking, Editing, Video, Tech Daniel Graham Filmmaking, Editing, Video, Tech Daniel Graham

The filming of Nani Wells music video "Dark"

The production for Nani’s music video “Dark” was a blast to make. We shot it over the course of two days, with a relatively loose concept.

IMG_20200119_070219.jpg

The production for Nani’s music video “Dark” was a blast to make. We shot it over the course of two days, with a relatively loose concept. We filmed it all on the Sony fs5, while recording Raw Cinema DNG to our Atomos Shogun Inferno. For most of the video we used our Movi m15, with an Easyrig Mini Max to save our arms. We also used the Proaim Camera Jib to get the some overhead shots in the bathtub.

IMG_20200119_072754.jpg

While we originally planned for 3 locations, the Vernon Boardwalk footage didn’t end up making it into the final edit. But with how cold it was that day, Nani was obviously freezing and who could blame her. It was 7am on a brisk, mid January morning.

Joey shooting a scene with Nani on our Movi M15.

Joey shooting a scene with Nani on our Movi M15.

For the edit, I colored all of the raw clips in Davinci Resolve and then exported them separately. Then I had Joey cut it together in Premiere Pro, using proxies so that we could exchange project files, and after I would do the final export on my computer. Cinema DNG can be huge in file size, so we recommend WD Black Drives for their mix of large storage capacity and performance. A raid DAS or enclosure might be necessary to mount them externally. We recommend using QNAP TR-004, Synology 4 bay NAS DiskStation DS920+, or for enclosures without raid a Mediasonic HF7-SU31C.

This page contains Amazon affiliate links. If you choose to purchase one of these products, we will be compensated and at no cost to you. This helps us to continue writing quality content for readers like you. Thank you for reading!

Things we think we did great

  • We worked well on the fly without a defined plan

  • We were able to keep the production relatively minimal

  • Shooting raw on the Fs5 was really great, despite the extra storage requirements

Things we think we could improve

  • We needed more B-roll, we started running out of shots during the edit

  • Our schedules and budget were limited, but both would have benefited from a thorough plan

  • We probably could have traded some of the gimble shots for tripod shots, to minimize strain on our two-man crew

  • We would have benefited from having more crew members. Some lighting sacrifices were made, due to limited mental bandwidth

More BTS from the video

Music_video_Nani-wells-dark_behind_scenes_2020BTS_RX100390.jpg
Read More
Photography, Video, Education Daniel Graham Photography, Video, Education Daniel Graham

What is Aperture?

Photo By: Danny Graham  (Wantage , New Jersey , 07461)

Photo By: Danny Graham (Wantage , New Jersey , 07461)

Image credit: https://en.m.wikipedia.org/wiki/Aperture

Image credit: https://en.m.wikipedia.org/wiki/Aperture

In photography and video, a lens’s aperture is a set of blades that open and close to control the amount of light passing through the lens. It is part of the Three Elements of Exposure.

The way that the number is represented is called an F-stop, and it’s labeled as “f/” followed by a number like 1, 1.4 ,2, 2.8 , 4 , 5.6 , 8 , 11 ,16 , 22. These are all full stops, but you may also see numbers like 1.2, 1.8, 3.2, 4.5 , ect. These examples instead follow a 1/3 stop.

Camera-lens-676829.jpg

This article has a great chart of the different measured stops

Similarly you may find T stops on cinema lenses, which are measured more extensively for motion picture. More on T stops here.

Summary

Aperture has a large play in the DOF (Depth of Field). Depending on your subject, you may want to open or close your aperture in order to create a greater depth of field. For example, if you are shooting landscape photography, then you may want a greater depth. And with portraits, you might want isolate your subject from other details in the frame. If you are just starting out, a great option to learn DOF is a 50 1.8 (Nifty-50). These are typically inexpensive, and you’ll be able to see the specific changes in DOF (more specifically on the shallow end).

The following image was taken several years ago with my old Canon 60D and Canon 50mm F/1.8. this camera and lens can likely be found together used for sub $200

Image by Danny Graham: Taken with Canon 50mm F/1.8 and Canon 60D

Image by Danny Graham: Taken with Canon 50mm F/1.8 and Canon 60D


This page contains Amazon affiliate links. If you choose to purchase one of these products, we will be compensated and at no cost to you. This helps us to continue writing quality content for readers like

Photographer: Danny Graham

Photographer: Danny Graham

Photographer:

Photographer: Danny Graham


Read More